
- September 23, 2026
- in Blog
- by
- 49
- 0
Last Updated: September 22, 2026
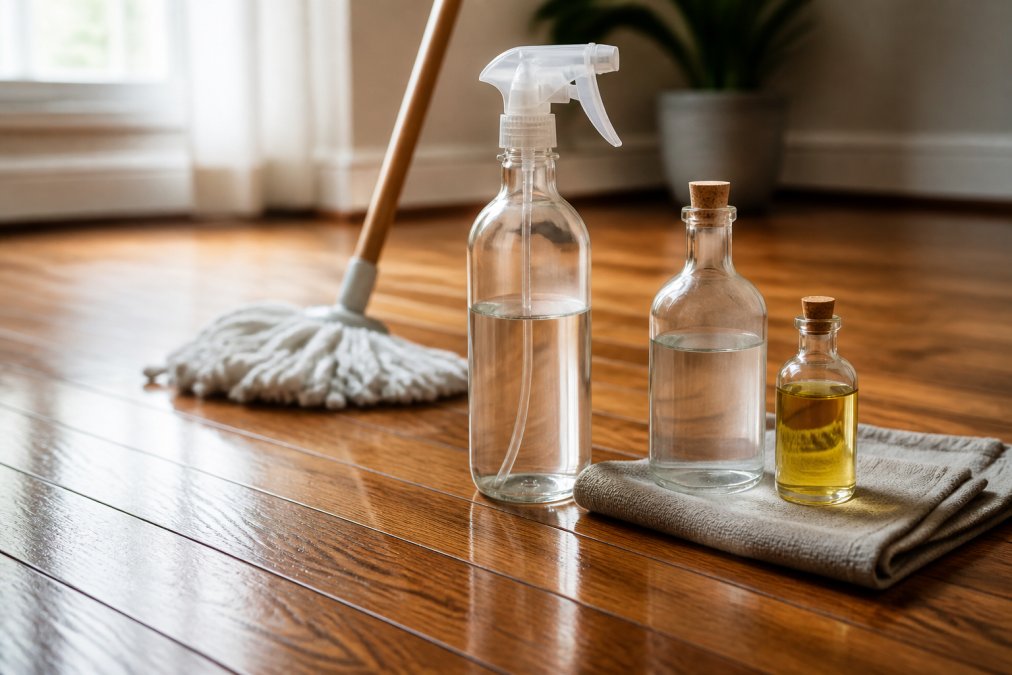
A homemade hardwood floor cleaner vinegar oil solution can work for light dust and surface grime. But it’s not a cure-all. The combination addresses two different needs: vinegar cuts through buildup, while oil restores shine. The problem is that many DIY recipes skip the critical safety steps that protect your wood finish.
Most people mix vinegar and water without testing it first. They apply it generously. Then they wonder why their floors look dull or sticky. Many homeowners struggle with DIY solutions that seemed simple but caused real damage to their wood’s protective finish.
The truth is straightforward: vinegar works, but only when diluted properly and applied sparingly. Oil helps, but only certain types. Water is your biggest risk. Too much moisture seeps into wood and causes warping, cupping, or finish failure. A safe DIY hardwood floor cleaner requires precision.
This guide covers the exact recipe, the dangers to avoid, and when to call a professional instead.
Vinegar is acidic. That acidity cuts through soap residue and mineral deposits. It also eats into wood finish.
Most hardwood floors have a protective coating. This might be polyurethane, wax, or lacquer. Vinegar’s acidity breaks down these finishes over time. One application won’t ruin everything. Repeated use will. You’ll notice dull spots where the finish has thinned.
The bigger danger is what happens when vinegar soaks into the wood itself. Hardwood is porous. Vinegar penetrates below the surface. It can cause the wood to swell unevenly. This leads to cupping (edges higher than the center) or crowning (center higher than edges). Once this happens, refinishing is the only fix.
Many guides recommend a 1:1 vinegar-to-water ratio. This is too strong. A 1:4 ratio is safer, though still risky for frequent use. Even diluted vinegar should never sit on wood. Spray, wipe immediately, and dry right away.
A safe DIY hardwood floor cleaner requires just four items:
White vinegar is standard because it’s clear. Avoid apple cider vinegar or other varieties. They contain sugars and dyes that leave residue.
Distilled water matters. Tap water has minerals that build up on hardwood over time. Distilled water is mineral-free and won’t leave streaks.
Vegetable oil or mineral oil adds shine. Vegetable oil is cheaper and works fine for most floors. Mineral oil is odorless and slightly more durable. Either works. Avoid coconut oil, it can leave a waxy buildup.
Follow this exact process to make your cleaner:
Pour distilled water into the spray bottle first. Fill it about three-quarters full. This prevents vinegar from being too concentrated at the bottom.
Add white vinegar. Pour one part vinegar for every four parts water. For a 16-ounce bottle, that’s 4 ounces of vinegar and 12 ounces of water.
Add oil drops. Squeeze 3-5 drops of vegetable or mineral oil into the bottle. This is not a measurement, just a few drops. Too much oil makes floors slippery and sticky.
Screw the cap on and shake well. Shake for 10-15 seconds. Oil and water don’t mix naturally, so shaking distributes the oil throughout the solution.
Shake again before each use. The oil will separate from the water. Shake the bottle again right before spraying to remix it.
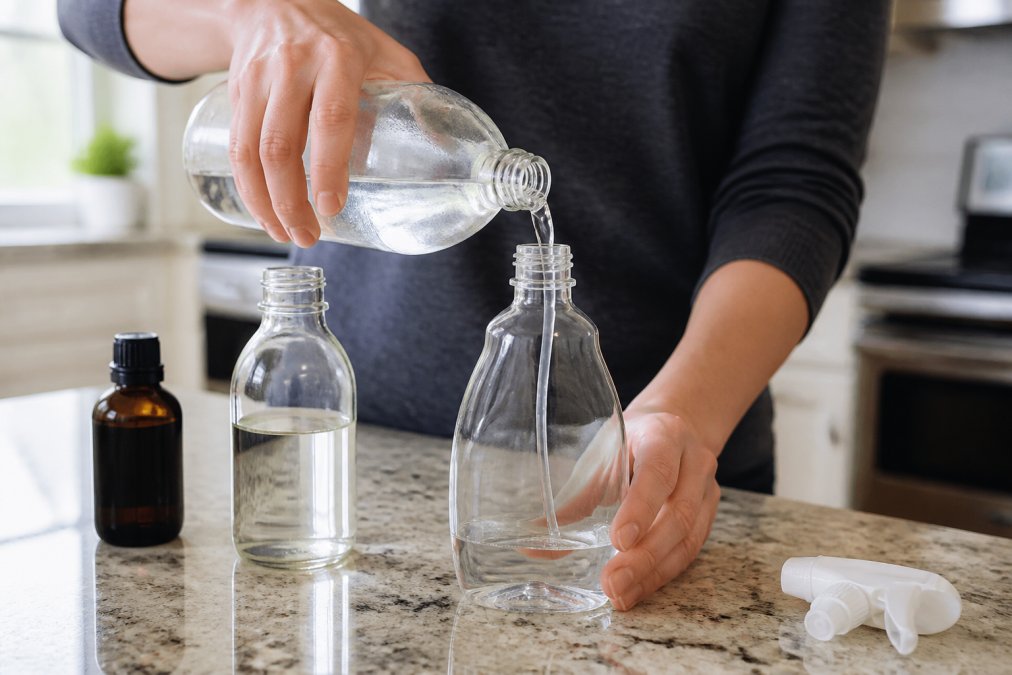
This recipe makes enough for one thorough floor cleaning. Store any leftover solution in a cool, dark place. Label the bottle clearly so no one mistakes it for something else.
Never apply your DIY hardwood floor cleaner to your entire floor without testing it first.
Pick a spot that’s not visible, inside a closet, under a bed, or behind a door. Spray the solution on a small area about one foot square. Let it sit for 30 seconds. Wipe it dry immediately with a microfiber cloth.
Wait 24 hours. Check that spot. Look for dullness, discoloration, or any change in the wood finish. If the wood looks fine, your solution is safe. If you see dull patches or the finish looks damaged, your floor’s finish is too delicate for this recipe. Stop and consider a professional cleaning instead.
This test is not optional. Different wood types and finishes react differently. A recipe that works on one floor might damage another.
Application technique matters more than the recipe itself. This is where most DIY attempts fail.
Spray the solution lightly onto a microfiber mop or cloth. Do not spray directly onto the floor. Direct spraying leaves puddles. Puddles seep into wood seams and cause damage.
The mop should be damp, not wet. It should feel like a wrung-out sponge. If water drips from it, it’s too wet.
Work in small sections, about 3 feet by 3 feet at a time. Mop the section with the damp cloth. Then immediately follow with a dry microfiber cloth. Dry right away. Do not let the solution sit on the wood.
Pay special attention to seams between boards. Water loves seams. It soaks in and causes the boards to swell. Run your dry cloth along every seam to remove moisture.
Hardwood floors dry slowly when moisture is trapped underneath. Open windows to increase air circulation. Use a fan if the room feels humid. The faster the floor dries, the safer it is.
Never use a steam mop or wet mop on hardwood. These tools apply too much water. Steam penetrates deep into wood and causes cupping. Many homeowners damage their floors this way.
Over time, hardwood floors lose their shine. Dust, footprints, and dried cleaner residue dull the surface. Your DIY hardwood floor cleaner vinegar oil formula helps restore some shine, but the oil does the heavy lifting.
The oil in your solution sits on top of the wood finish. It fills tiny scratches and imperfections that scatter light. This makes the floor look shinier. It’s not a permanent fix, oil wears off with foot traffic, but it lasts a few weeks.
For dull floors, you can make a shine-focused version of the cleaner. Use the same base recipe but increase the oil to 8-10 drops per spray bottle. This creates more shine but requires extra care during application. More oil means more slipperiness, so dry thoroughly.
Another option is to apply a thin coat of furniture polish after cleaning.
DIY cleaning works for routine maintenance between professional cleanings. But hardwood floors benefit from professional care once or twice a year.
Professional maintenance includes:
Your DIY hardwood floor cleaner sometimes leaves residue or streaks. This usually means one of three things: too much solution, not enough drying, or the wrong water.
| Problem | Cause | Solution |
|---|---|---|
| Streaks or haze | Too much solution or tap water | Use less solution, switch to distilled water |
| Sticky feel | Cleaner residue or too much oil | Dry more thoroughly, reduce oil drops |
| Dull spots | Finish damage or mineral buildup | Test on hidden area first, use distilled water |
| Slippery floors | Excess oil or incomplete drying | Reduce oil, dry faster with fans |
Your DIY hardwood floor cleaner lasts about 2-3 months when stored properly.
When diluted properly, white vinegar and oil can be safe for sealed hardwood floors with polyurethane finishes. The key is using the correct ratio (1 part vinegar to 10 parts water) and applying it with a barely damp microfiber mop. Never use vinegar on unsealed, waxed, or oil-finished hardwood, as the acidity can strip the finish. Always test your DIY hardwood floor cleaner on a hidden area first to confirm compatibility with your specific wood finish.
A pH-neutral solution of white vinegar, distilled water, and a small amount of vegetable oil works well for most sealed hardwood floors. Mix 1 part white vinegar with 10 parts distilled water and add 2-3 drops of vegetable oil per spray bottle. This combination provides cleaning power without damaging the wood finish. Essential oils like lemon or lavender can be added for scent (3-5 drops). For stubborn spots, spot cleaning with a damp cloth works better than applying the solution to the entire floor.
Professionals warn against vinegar because its acidity (pH around 2.5) can damage wood finishes, especially polyurethane coatings designed to protect hardwood. Excessive vinegar exposure can dull the finish, cause water rings, and eventually strip the protective layer. This is why the dangers of vinegar on wood floors include potential moisture damage and finish deterioration. Proper dilution and minimal moisture application reduce these risks significantly, but sealed hardwood still requires careful handling.
Most sealed hardwood floors benefit from light cleaning weekly with your DIY solution and deep cleaning every 3-6 months, depending on foot traffic and household activity. High-traffic areas may need more frequent attention. For preventative maintenance, sweep or vacuum regularly to remove dust and debris that can scratch the finish. Professional hardwood floor maintenance tips recommend avoiding excessive moisture and maintaining consistent humidity levels (35-55%) to prevent warping and cupping.


