
- 10
- 0
Table of Contents
- Why Healthcare Furniture Lifespan Matters
- Understanding Healthcare Furniture Maintenance Fundamentals
- Medical Furniture Cleaning and Disinfection Protocols
- Creating a Healthcare Furniture Inspection Checklist
- Preventive Maintenance Schedules for Different Furniture Types
- Seating (waiting room chairs, patient chairs, recliners)
- Tables (exam tables, procedure tables, overbed tables)
- Casework (cabinets, counters, storage)
- Mobile furniture (IV poles, rolling stools, carts, bedside commodes)
- Accessibility and safety checks to fold into every inspection
- Building the calendar
- Repair Versus Replace: Making the Right Decision
- Staff Training and Reporting Workflows
- Conclusion
- Frequently Asked Questions
Last Updated: October 15, 2026
Why Healthcare Furniture Lifespan Matters
Healthcare furniture endures constant use.
Furniture that deteriorates quickly forces costly replacements: worn upholstery compromises infection control, torn fabric traps bacteria, and cracked frames become safety hazards.
Lifespan depends on three factors: material quality, usage intensity, and maintenance consistency.
This guide covers actionable steps to maximize the lifespan of healthcare furniture through cleaning, inspection, preventive maintenance, and strategic repair decisions.
Understanding Healthcare Furniture Maintenance Fundamentals
Healthcare-grade furniture is engineered differently than standard office seating: solid frames withstand repeated disinfection, and upholstery resists tears and stains better than typical fabric.
Many facilities skip preventive maintenance because it feels optional when furniture still looks functional.
Start by documenting your furniture inventory: type, location, age, and condition. This baseline tracks deterioration patterns and predicts replacement timelines; a simple spreadsheet works for most facilities.
Medical Furniture Cleaning and Disinfection Protocols
Cleaning and disinfection are not the same: cleaning removes visible dirt and contaminants, while disinfection kills pathogens.
The standard protocol is clean first, then disinfect. Dirt and organic material shield pathogens from disinfectants, so cleaning without disinfection leaves bacteria alive, and disinfecting without cleaning wastes product on debris-covered surfaces (the CDC).
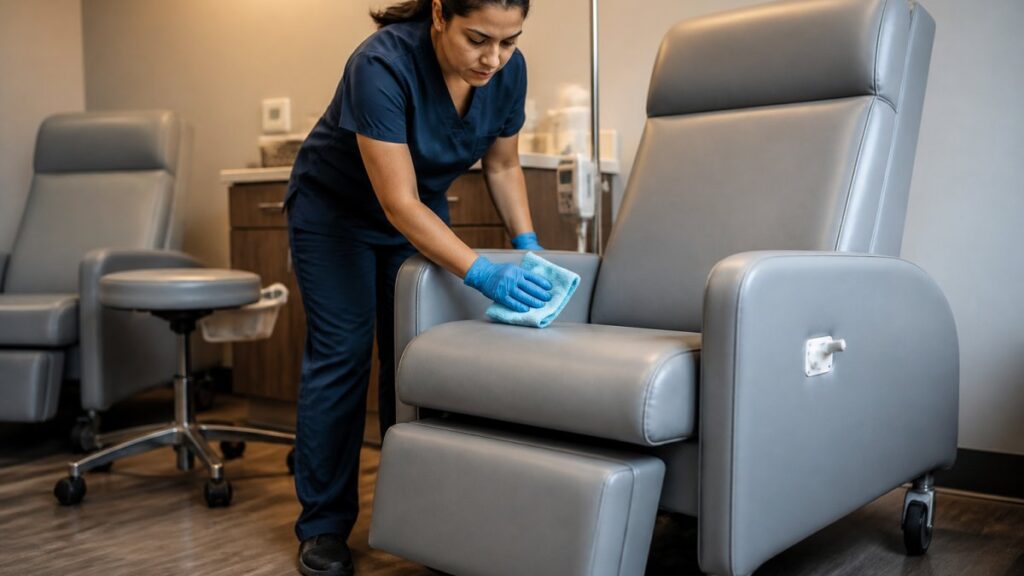
For upholstered surfaces, wipe all fabric with a damp cloth and mild soap, focusing on seams, creases, and patient-contact areas.
For plastic or metal frames, follow the same sequence: clean with mild soap and water, dry thoroughly, then disinfect with proper contact time.
Cleaning-Agent Compatibility and Manufacturer Instructions
The wrong cleaning agent can strip protective coatings, fade upholstery, or degrade foam backing.
Always check the manufacturer’s care instructions before applying any cleaning product.
Common incompatibilities include:
- Bleach-based disinfectants on colored upholstery (causes fading)
- Oil-based cleaners on foam (accelerates deterioration)
- Acidic cleaners on certain metal frames (causes corrosion)
When manufacturer instructions conflict with your infection control standards, contact the manufacturer directly; most provide approved alternatives that meet both requirements.
If you use professional cleaning services, give the provider a copy of all manufacturer care instructions.
Creating a Healthcare Furniture Inspection Checklist
Regular inspection catches damage early. Damage caught at 10% severity costs far less to repair than damage at 50% severity.
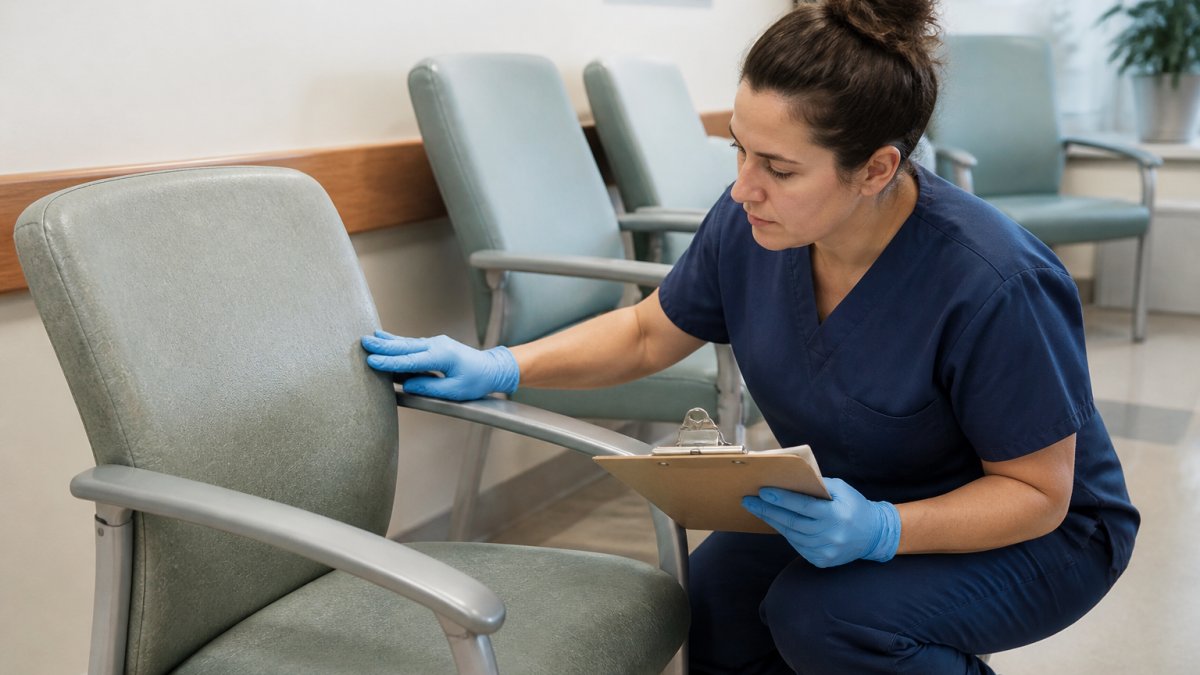
Develop a simple monthly checklist that takes 2-3 minutes per piece and can be completed by any staff member, even without maintenance training.
Your inspection checklist should cover:
- Upholstery condition: Look for tears, stains, discoloration, or peeling. Check seams for separation.
- Foam integrity: Press on cushioned areas. Note any flattening, softness, or loss of shape.
- Frame stability: Sit on the furniture and check for wobbling, creaking, or movement. Inspect joints for cracks or splitting.
Log findings with furniture ID, date, inspector name, condition rating (good, fair, or poor), and notes on what needs attention.
When inspection reveals damage, immediately move the furniture to a repair queue or out-of-service area.
Preventive Maintenance Schedules for Different Furniture Types
Generic advice like “inspect regularly” fails because every piece has different wear points, cleaning tolerances, and safety obligations. The schedule below converts maintenance into a task-level routine by furniture type and cadence. Adapt intervals to your census, cleaning frequency, and manufacturer instructions, a piece in a busy emergency department may need every interval shortened.
Seating (waiting room chairs, patient chairs, recliners)
- Daily: Wipe high-touch surfaces (armrests, seat edges, backrest tops) with the manufacturer-approved cleaner. Visually scan for new tears, sticky residue, or body-fluid contamination and remove the piece from service if contamination is present.
- Weekly: Inspect seams, welts, and piping for separation. Press the seat and back cushions to check for foam compression or bottoming out. Test the stability of the frame by applying gentle lateral pressure.
- Quarterly: Deep clean upholstery per manufacturer instructions. Assess foam resilience and note any pieces trending toward replacement.
Tables (exam tables, procedure tables, overbed tables)
- Daily: Clean and disinfect the top surface after each patient use. Check that the surface material has not cracked, delaminated, or lifted at the edges.
- Weekly: Inspect the frame, legs, and any height-adjustment mechanism. Test locks and brakes. Confirm that the table does not wobble under load.
- Monthly: Lubricate moving parts per manufacturer instructions. Check that the table height range still meets clinical needs and that no pinch points have been exposed by wear.
- Annually: Replace worn glides, casters, and pads. Evaluate whether the surface material still supports effective disinfection.
Casework (cabinets, counters, storage)
- Daily: Wipe high-touch pulls, handles, and edges. Note any swelling, chipping, or delamination.
- Monthly: Inspect hinges, drawer slides, and locks. Tighten hardware. Check that doors and drawers close flush and do not sag.
- Quarterly: Examine the underside and back panels for water damage or pest activity. Confirm that laminate edges are sealed.
- Annually: Refinish or reseal surfaces that have lost their protective layer. Replace damaged drawer slides and hinges before they fail completely.
Mobile furniture (IV poles, rolling stools, carts, bedside commodes)
- Daily: Check that casters roll freely and that brakes engage. Wipe high-touch surfaces.
- Weekly: Inspect for bent frames, loose joints, and missing hardware. Confirm that any locking mechanism still holds under load.
- Monthly: Clean and lubricate casters per manufacturer instructions. Replace worn wheels before they damage flooring or fail mid-transport.
- Annually: Full inspection of structural integrity and load-rated components. Retire any piece that has been involved in a fall or tip-over event.
Accessibility and safety checks to fold into every inspection
Longevity guidance that ignores safety creates a different kind of liability. Add these checks to the routine above:
- Stability: Confirm the piece does not tip when a patient uses it for support during sit-to-stand.
- Load limits: Verify that the manufacturer’s weight rating is still legible and that the piece has not been modified in a way that voids it.
- Brakes and locks: Test every locking caster, recliner lock, and table brake.
- Sharp edges and pinch points: Look for exposed staples, cracked plastic, or metal edges created by wear.
Building the calendar
Assign each furniture type to a named owner and a specific day of the week or month. A simple shared calendar with recurring tasks works better than a complex system nobody updates. Log every inspection with the date, inspector, condition rating, and any action taken. When a piece fails the same check twice in a row, escalate it to the repair-or-replace review rather than resetting the clock.
Repair Versus Replace: Making the Right Decision
Repair-or-replace decisions made on gut feel go one of two ways: facilities over-repair pieces that should be retired, or replace pieces with years of safe service left. A consistent framework produces defensible choices and a paper trail that holds up to budget review and accreditation scrutiny.
Step 1, Screen for immediate disqualifiers
Before weighing cost, ask whether the piece can stay in service at all. Retire or remove from patient-facing use if any of the following is true:
- The frame is cracked, split, or has failed a weld.
- The piece has been involved in a tip-over, fall, or structural failure.
- The upholstery cannot be cleaned to infection-control standards after a documented attempt.
- The manufacturer’s load rating can no longer be verified or has been exceeded.
These are not cost questions: a piece that fails any is a safety or infection-control risk regardless of how cheap the repair looks.
Step 2, Score the piece on five factors
For pieces that pass the screen, rate each factor as strong, marginal, or failing:
- Condition, Is the damage localized or widespread? A single seam or one worn caster is localized. Multiple failing seams, sagging foam across the seat, and surface delamination are widespread.
- Repair cost versus replacement cost, Get a real quote, not an estimate. As a working rule, a repair that costs less than roughly one-third of replacement is usually worth doing; a repair approaching or exceeding half the replacement cost rarely pays back.
- Safety and accessibility, Will the repair restore the piece to its original safety and accessibility performance, or will it leave compromises?
- Cleanability, Can the repaired surface be disinfected with your facility’s approved agents and dwell times? A repair that leaves a porous or incompatible surface undermines infection control.
- Remaining service life, How many years of useful service will the repaired piece deliver? A five-year-old chair with a sound frame may give another three to five years after reupholstery. A ten-year-old chair with a marginal frame may give one.
Step 3, Apply the decision rule
- Repair when condition is localized, repair cost is well under replacement cost, safety and cleanability are fully restored, and remaining service life is at least two to three years.
- Replace when any factor is failing, when two or more factors are marginal, or when the repair cost approaches half the replacement cost.
- Defer and monitor when the piece is marginal but not failing. Set a re-inspection date and a defined trigger (for example, a second seam failure or a foam compression check) that will move it to repair or replace.
Step 4, Compare on cost per year of service
A simple lifecycle measure makes the trade-off concrete. Divide the total cost of ownership, purchase price plus all maintenance, cleaning, and repair costs to date, by the number of years the piece has been in service.
A piece with a high and rising cost per year of service is telling you something the condition rating alone will not: it is consuming disproportionate maintenance resources.
Step 5, Document the decision
Record the condition rating, repair quote, cost-per-year comparison, and final decision for every piece reviewed. Over time this log reveals which models, materials, and vendors deliver value, and gives a defensible answer when a budget committee or surveyor asks why a piece was repaired rather than replaced.
Common repairs that extend service life
- Reupholstering structurally sound seating with healthcare-grade fabric.
- Patching isolated tears with manufacturer-approved repair kits.
- Tightening or replacing loose joints, fasteners, and corner blocks.
- Replacing casters, glides, and feet before they damage flooring or fail under load.
Each is worth doing when the piece passes screening and the cost-per-year math supports it, and never on a piece that has already failed a safety or cleanability check.
Staff Training and Reporting Workflows
Furniture maintenance only works when staff understand their role; untrained staff cause damage through improper use or miss early warning signs.
Develop a simple training program covering:
- Proper cleaning and disinfection protocols
- How to identify damage during daily use
- When to report issues and to whom
- Proper use techniques that minimize wear
Training should take 15-20 minutes and be provided to all staff who interact with furniture. Reinforce training annually.
Create a simple reporting system, a form, phone number, email, or maintenance request system.
Review damage reports weekly, prioritizing urgent safety and infection-control issues for immediate action and scheduling non-urgent repairs during planned maintenance windows.
Conclusion
Extending the lifespan of healthcare furniture requires consistent cleaning, inspection, preventive maintenance, and timely repairs. Facilities that implement these practices reduce emergency replacements, maintain infection control standards, and create safer environments for patients and staff.
Stay Fresh Steam Cleaning helps healthcare facilities maintain furniture through professional deep cleaning and disinfection. Our certified technicians follow manufacturer protocols to protect your investment.
Frequently Asked Questions
How often should healthcare furniture be inspected?
High-use healthcare furniture should be inspected weekly for visible damage, stains, and wear. Medium-use pieces benefit from bi-weekly inspections, while lower-traffic furniture can be checked monthly. Regular inspections catch small issues before they compromise the structural integrity or infection control standards of your healthcare furniture, extending its service life and reducing repair costs.
What cleaning products are safe for medical furniture?
Use only EPA-approved disinfectants and manufacturer-recommended cleaning agents for your healthcare furniture. Always review the product label to confirm compatibility with upholstered surfaces and high-density foam. Avoid bleach-based cleaners on colored upholstery, and test any new product on a hidden area first. Many healthcare facilities use hospital-grade disinfectant wipes for spot cleaning and professional cleaning for deep sanitization of healthcare-grade upholstery.
What are the signs that healthcare furniture needs repair or replacement?
Replace or repair healthcare furniture when you notice deep tears that expose foam, cracking or splitting in solid frames, peeling upholstery that cannot be reupholstered, structural instability, or persistent stains that resist disinfection. Minor surface damage, small tears, or worn cushions are good candidates for repair. Document damage with photos and assess repair costs against replacement to make an informed decision about your healthcare furniture investment.
How can facilities prevent damage to healthcare furniture?
Implement staff training on proper use and cleaning of healthcare furniture, establish preventive maintenance schedules, use protective covers in high-use areas, and rotate furniture to distribute wear evenly. Clean spills immediately, avoid dragging furniture across floors, and use appropriate disinfection methods that won’t damage upholstered surfaces. Regular professional cleaning helps maintain infection control standards while preserving the durability of your healthcare-grade materials.


