
- September 16, 2026
- in Blog
- by
- 32
- 0
Last Updated: September 3, 2026
Your hardwood floors are an investment. What happens daily between professional cleanings determines whether they’ll last decades or deteriorate within years.
Homes with consistent daily and weekly maintenance routines need professional service less frequently and see better long-term results. Dust, grit, and moisture accumulate silently between cleanings, and each issue compounds without a deliberate routine.
This guide covers what you need to do to maintain clean hardwood floors between professional cleanings, the tools that work, safe cleaning solutions, and mistakes that accelerate wear.
Deep cleaning should happen every 3-6 months depending on foot traffic and pets (nwfa.org). Rather than following a rigid schedule, assess your floors monthly. If you notice dull patches in high-traffic zones, sticky residue that daily cleaning can’t remove, or persistent odors, it’s time for professional service.
Daily and weekly routines prevent problems from developing. Deep cleaning removes what daily maintenance can’t handle. Professional services use specialized equipment and solutions that penetrate the wood finish, but work best when you maintain clean hardwood floors consistently between visits.
You don’t need much to maintain clean hardwood floors effectively. In fact, the wrong tools cause more damage than they prevent. Here’s what actually works:
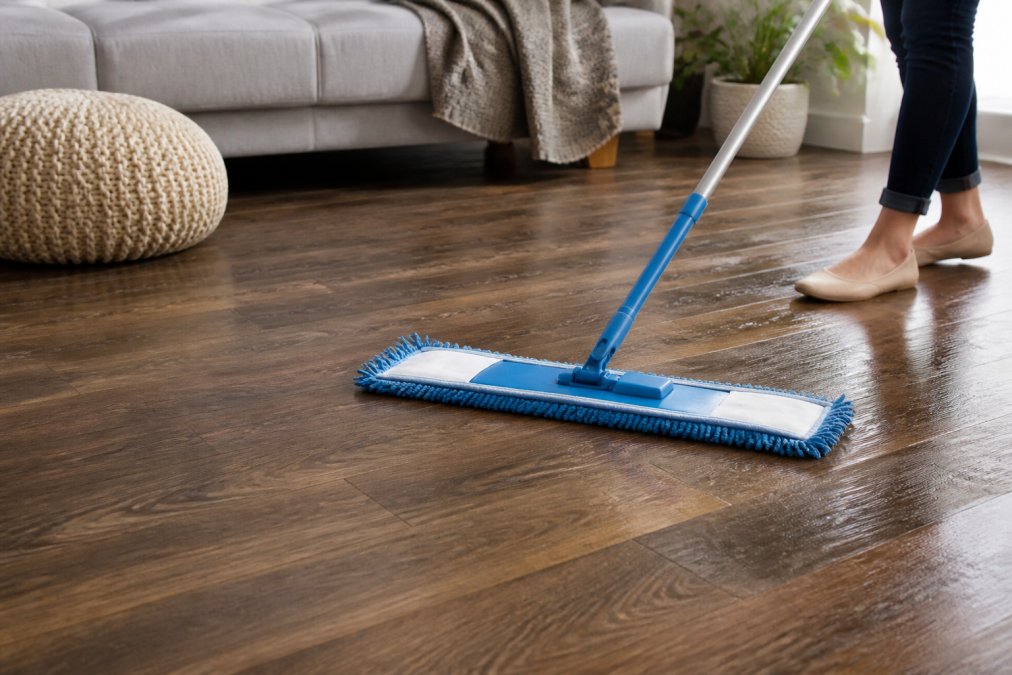
Microfiber mop and pads. This is non-negotiable. Microfiber attracts dust electrostatically, it doesn’t just push dirt around like cotton or string mops (peer-reviewed research). The fibers are fine enough that they don’t catch on wood grain or leave streaks. Buy a mop with a pivoting head so you can reach corners and edges without contorting yourself.
Soft-bristle broom. For initial dust removal before mopping, use a soft-bristle broom to avoid fine scratches. Bristles should feel almost like horsehair.
Vacuum with hardwood floor attachment. A regular vacuum’s beater bar, the rotating brush that agitates carpet, will scratch hardwood. Use the hard-floor attachment instead, which uses suction only. If you don’t have a hard-floor attachment, a handheld vacuum works fine for quick cleanups.
Dust cloths or dusting spray. Microfiber cloths work better than paper towels for spot cleaning. If using dusting spray, ensure it’s formulated for hardwood, never use furniture polish.
Cleaning solution suitable for your finish. This deserves its own section, but the short version: don’t use vinegar, don’t use oil-based polishes, and don’t use all-purpose cleaners. These either strip the finish or leave residue that builds up over time.
Avoid steam mops. Heat and moisture penetrate the wood finish and cause cupping or warping. Professional steam cleaning uses controlled moisture and extraction that homeowner equipment doesn’t replicate.
Consistency beats intensity. A 5-minute daily routine prevents the need for scrubbing later. Here’s the exact process:
Daily Dust Mopping Steps
Start with dust mopping to remove surface dust before it gets ground into the finish.
This 3-5 minute daily routine removes 80% of dust accumulation (the CDC). Skipping days lets dust settle and requires more aggressive cleaning later.
Weekly Damp Mopping Process
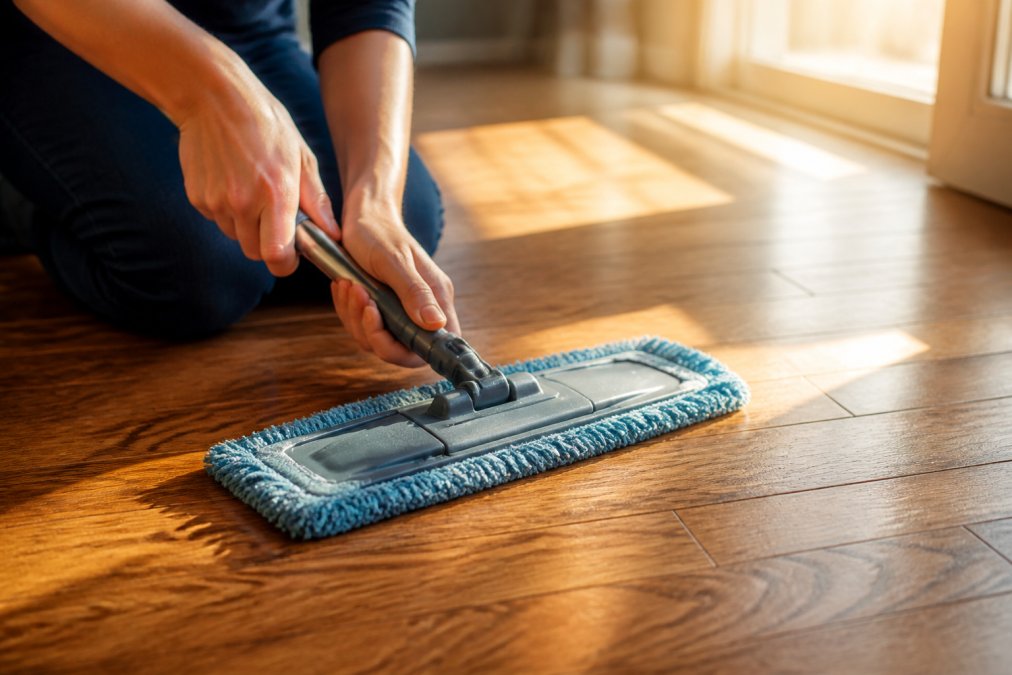
Once weekly, do a damp mop cleaning to remove dust that dry mopping misses.
This 15-20 minute process removes what daily dust mopping can’t address. The critical part is moisture level, too much water causes damage; too little leaves residue.
Scratches are permanent and allow wood to absorb moisture and rot. Most come from dragging furniture, pet claws, and grit ground into the finish by foot traffic.
Furniture pads are non-negotiable. Place adhesive felt pads under all furniture. Replace every 1-2 years. Lift furniture completely when moving instead of dragging.
Pet claws require active management. Keep nails trimmed short. Consider washable area rugs in high-traffic pet areas with non-slip pads underneath.
Grit and debris cause subtle damage. Daily dust mopping removes surface grit, but particles embed in the finish. Place quality entry mats outside exterior doors to trap dirt and sand. Vacuum mats weekly. The finish is your floor’s only defense, keep it intact to maintain beauty for decades.
Not all hardwood finishes are the same, and not all cleaners work on all finishes. Using the wrong solution is how most homeowners accidentally damage their floors.
Polyurethane finishes are most common in homes built or refinished in the last 20 years. Use a pH-neutral cleaner specifically formulated for hardwood. Avoid vinegar, oil-based polishes, and all-purpose cleaners.
Water-based finishes are becoming more popular for their low-VOC and quick-drying properties. Use pH-neutral hardwood cleaner and be extra careful wringing out your mop, as these finishes are sensitive to excess moisture.
Oil-based finishes are older and less common. They need penetrating oil treatments every 6-12 months. For regular cleaning, use very dilute pH-neutral cleaner or dry dust mop only.
Wax finishes are rare in modern homes. Never use water-based cleaners on wax, dust mop only and have wax professionally restored every few years. To identify your finish, test in a closet: water that beads up indicates polyurethane or water-based; water that soaks in indicates oil-based or wax.
Dilute cleaning solution properly. Using full-strength solution leaves residue, dulls the finish, and causes streaking. Follow the dilution ratio on the bottle exactly.
Speed is everything with spills. The longer liquid sits on hardwood, the more it penetrates the finish and potentially the wood itself. Immediate action prevents permanent staining and damage.
For fresh spills: Blot immediately with a dry cloth, pressing straight down. For sticky spills, use a slightly damp cloth with a tiny amount of hardwood cleaner, then dry.
For pet accidents: Blot immediately with paper towels. Clean with an enzymatic pet odor remover (which breaks down odor compounds rather than masking them). Apply per product instructions, usually 10-15 minutes, then blot. Allow to dry completely before foot traffic.
For set-in stains: A damp cloth with hardwood cleaner may lighten it slightly. If that doesn’t work, the stain has penetrated below the finish and requires professional refinishing.
For sticky residue: Sometimes spills leave a sticky film even after cleaning. This usually means the cleaning solution wasn’t diluted enough or wasn’t rinsed away properly. Use a clean, barely damp cloth with plain water to wipe the area, then dry it immediately. Repeat if necessary until the stickiness is gone.
Pet owners should use washable area rugs near pet food bowls and sleeping areas to protect hardwood. Professional services can address stubborn pet stains that home cleaning can’t remove.
Most hardwood floor damage is self-inflicted. Here are the mistakes that accelerate wear:
Using too much water. Excess moisture warps wood, causes cupping, and leads to mold. Your mop should be damp, not wet.
Using vinegar or lemon juice. These are acidic and strip the protective finish over time. Bleach is too harsh and can lighten wood color.
Using oil-based furniture polish or linseed oil. These build up over time, creating a slippery, sticky surface that attracts dirt and interferes with the floor’s finish.
Neglecting dust mopping. Grit and sand act like sandpaper when ground into the finish. Daily dust mopping prevents this damage; skipping it causes faster degradation.
Allowing pets to walk on wet floors. Keep pets off until completely dry. Wet paws track moisture into the wood grain and cause swelling or warping.
Using steam mops or excessive heat. Steam penetrates the finish and causes uneven expansion and contraction. Hardwood and steam are incompatible.
Ignoring humidity levels. Extreme swings cause cupping, crowning, and gaps. Use a humidifier in winter if humidity drops below 30%, and a dehumidifier in summer if it exceeds 50%.
Waiting too long between professional cleanings. Dirt and buildup accumulate in ways surface cleaning can’t address. Professional deep cleaning removes what household cleaning can’t reach.
Hardwood floors require more attention than carpet, but a consistent daily routine prevents problems from developing. When professional deep cleaning is needed, Stay Fresh Steam Cleaning’s certified technicians use specialized equipment and solutions that restore what household cleaning can’t address. Contact us to schedule your next professional cleaning and learn how our service fits into your maintenance routine.
Most households benefit from professional hardwood floor cleaning once or twice per year, depending on foot traffic and household composition. High-traffic homes, those with pets, or commercial spaces may need professional deep cleaning every 3-6 months. Regular maintenance between professional visits extends the life of your wood floor finish and keeps your polyurethane or penetrating oil coating protected from dirt accumulation and moisture damage.
Pet owners should dust mop daily to capture hair and paw debris before it scratches the surface. Use a microfiber mop to trap pet hair effectively. Address accidents immediately by blotting with a soft cloth and using a pH-neutral cleaner diluted properly, never let moisture sit on wood. Place furniture pads under pet beds and food bowls to prevent scratches. Weekly damp mopping (not wet mopping) helps control pet odors while protecting your wood grain from excess water damage.
Yes, but with caution. A mixture of white vinegar and water (1 part vinegar to 10 parts water) works as a pH-neutral cleaner for light maintenance. However, vinegar can dull polyurethane finishes over time with repeated use. For best results, use commercial pH-neutral hardwood cleaners specifically formulated for your floor finish type. Avoid homemade oil-based solutions, which can leave residue and make floors slippery. Always test any cleaner in an inconspicuous area first and wring out your mop thoroughly to prevent moisture damage.
Light scuffs often disappear with proper damp mopping using a pH-neutral cleaner. For stubborn marks, a specialized hardwood floor polish or finish restorer can restore luster without requiring full refinishing. Apply sparingly with a soft-bristle mop, following product instructions carefully. Deep scratches or gouges that penetrate the finish may require professional repair or refinishing. Regular preventative care, using furniture pads, controlling moisture, and maintaining the protective surface finish, keeps your floors looking newer longer between professional deep cleanings.
This article was written using GrandRanker


