
- 6
- 0
Last Updated: October 22, 2026
Quick Summary
DIY landscaping for home sale means improving your yard, entrance, and planted areas yourself so buyers form a stronger first impression before they walk through the door. Focus on what buyers see in the first ten seconds: the lawn, bed lines, walkway, and front door. Start six to eight weeks before listing and spend where the camera points.
- Buyers judge upkeep fast, and a maintained landscape signals a maintained house.
- Prioritize the lawn edge, bed line, walkway, and entrance before anything else.
- Lay 2-3 inches of mulch, keeping it a few inches back from trunks and stems.
- Start your landscaping timeline six to eight weeks out and work backward from photo day.
- Hire a professional for new paving, retaining walls, drainage problems, or large tree removal.
Table of Contents
- Why DIY Landscaping Pays Off at Sale Time
- Curb Appeal Landscaping Ideas for Selling Your Home
- DIY Landscaping Projects You Can Finish This Weekend
- Landscaping Mistakes That Reduce Home Value
- Your Landscaping Timeline Before Listing a Home
- Budget Ranges and When to Hire a Professional
- Conclusion
- Frequently Asked Questions
Why DIY Landscaping Pays Off at Sale Time
DIY landscaping for home sale is the work of improving your yard, entrance, and planted areas yourself so buyers form a stronger first impression before they walk through the door. Research from Virginia Cooperative Extension’s study on landscape plants and perceived home value found that larger landscape expenditures significantly raise perceived home value and may support a higher selling price than smaller ones.
That finding matters more than any single plant choice. Buyers are not appraising your garden. They are reading it as evidence about the roof, the plumbing, and the seller’s attention to detail.
The properties that generate quick offers are the ones where the outside and inside tell the same story. Below, we’ll show you exactly how to plan the work, what to fix first, and where DIY stops making sense.
Key Takeaway
Landscaping does not need to be expensive to influence a sale. It needs to look deliberate. Consistent edges, fresh mulch, and a clean entrance outperform one costly feature every time.
Landscaping does not need to be expensive to influence a sale. It needs to look deliberate. Consistent edges, fresh mulch, and a clean entrance outperform one costly feature every time.
Curb Appeal Landscaping Ideas for Selling Your Home
Curb appeal landscaping ideas for selling your home should prioritize what a buyer sees in the first ten seconds: the lawn, the bed lines, the walkway, and the front door. Buyers form that judgment from the street and from listing photos, often before they ever book a showing.
Front Yard Fixes Buyers Notice First
The front yard carries disproportionate weight because it is the only part of the property every buyer sees. Focus your effort on four zones:
- The lawn edge. A clean line where grass meets bed or pavement reads as maintenance.
- The bed line. Redefine it with a spade or edger so it curves deliberately instead of creeping.
- The walkway. Clear debris, pull weeds from joints, and remove any trip hazards.
A common mistake is spreading effort evenly across the whole yard. Buyers do not inspect the side fence line. Spend your hours where the camera points.
Low-Maintenance Greenery and Layered Planting
Layered planting means arranging greenery in three heights: low groundcover in front, mid-size shrubs behind, and taller specimens at the back. The result reads as full and intentional without requiring dozens of individual plants.
Choose low-maintenance options suited to your climate rather than whatever is blooming at the nursery. Buyers touring in a different season should still see structure.
DIY Landscaping Projects You Can Finish This Weekend
DIY landscaping projects for a home sale should be scoped to what one or two people can complete in a weekend without renting heavy equipment. Prioritize projects that change how the property photographs. Below are four weekend-scale projects with realistic materials, time, difficulty, and steps so you can pick the ones that fit your timeline.
Refresh Flower Beds, Mulch, and Edging
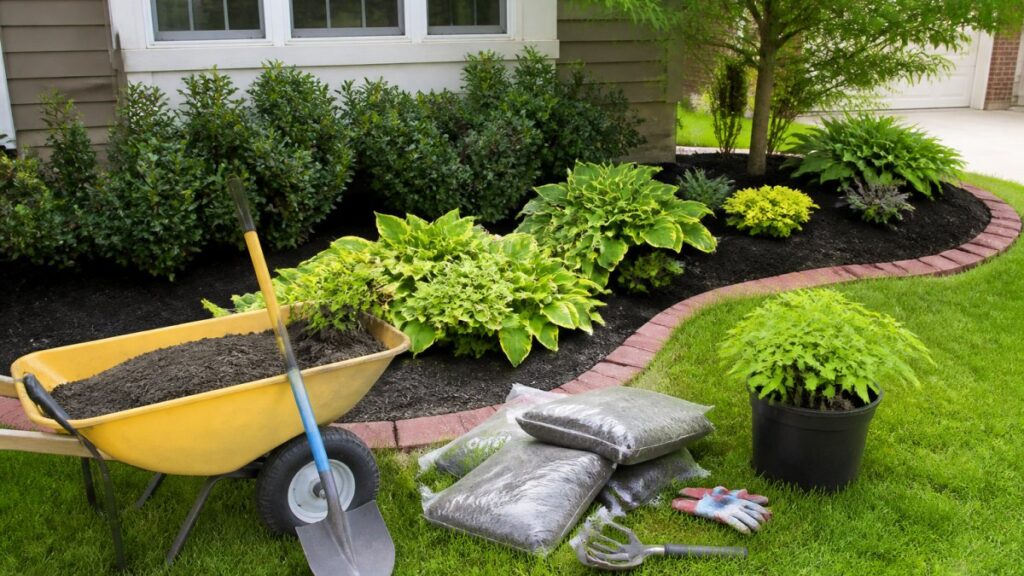
Time: 4-6 hours for a typical 200-square-foot front bed. Difficulty: Easy. Materials: bagged or bulk hardwood mulch, a spade or half-moon edger, a garden rake, work gloves, and a wheelbarrow if you are moving bulk mulch.
- Pull weeds and yard waste by hand; bag it for municipal pickup rather than piling it at the curb.
- Turn the top inch of soil with a rake or hand cultivator so new mulch sits level.
- Cut a fresh edge straight down along the bed line with a spade, then remove the loosened soil.
- Lay 2-3 inches of mulch, keeping it a few inches back from trunks and stems to avoid rot and pest issues.
- Sweep pavement clean so the new edge reads sharp in photos.
Dark mulch creates contrast against green foliage and makes beds look finished. A fresh edge does more visual work than most plant purchases.
Reset and Clean the Walkway
Time: 2-4 hours. Difficulty: Easy to moderate. Materials: a flat pry bar or screwdriver, paver sand or polymeric joint sand, a stiff brush, and a pressure washer or hose nozzle.
- Lift any rocking paver, scrape out old sand, and reset it on a thin bed of paver sand.
- Tamp it level with a rubber mallet, then sweep joint sand into the gaps and mist it lightly.
- Pressure wash concrete or stone at a moderate setting; too much pressure etches concrete and strips sealant.
- Pull weeds from joints and fill any gap wider than a finger with sand or a patching compound.
A level, clean walkway removes trip hazards and reads as maintained from the street.
Build a Window Box or Refresh the Entrance
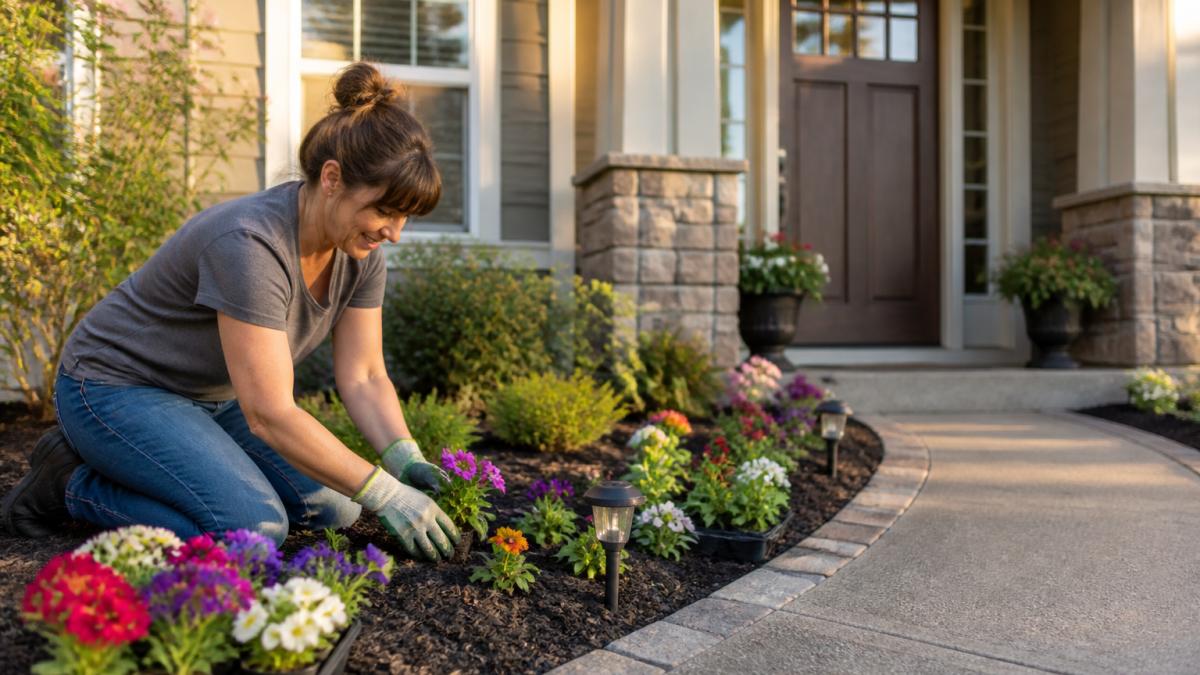
Time: 2-3 hours. Difficulty: Easy. Materials: a ready-made window box or two matching planters, potting mix, seasonal plants, a doormat, and exterior paint if the door is faded.
- Mount the box with the brackets that come with it, or set matching planters on either side of the door for symmetry.
- Fill with potting mix and plants suited to your light exposure; ask the nursery which options hold color for the weeks around your listing date.
- Paint the front door if it is faded, replace a worn doormat, and make sure the house number is visible from the street.
- Sweep the porch and wipe down the door hardware.
Symmetry at the entrance photographs well and reads as cared-for.
Quick Lawn and Edge Cleanup
Time: 2-3 hours. Difficulty: Easy. Materials: mower, string trimmer, edger or spade, leaf rake, and bags for clippings.
- Mow at the higher end of the recommended height for your grass type; scalping stresses turf and yellows it before photos.
- Trim around trees, fences, and foundations, then cut a crisp edge along walks and drives.
- Rake clippings and leaves, and clear gutters and downspout outlets so water drains away from the foundation.
Pro Tip
Wash the entrance and walkway before you photograph anything. Dust and pollen dull every surface, and a clean hardscape makes new mulch and fresh plants look sharper in listing photos.
Wash the entrance and walkway before you photograph anything. Dust and pollen dull every surface, and a clean hardscape makes new mulch and fresh plants look sharper in listing photos.
Landscaping Mistakes That Reduce Home Value
Landscaping mistakes that reduce home value generally fall into three buckets: work that looks unfinished, plantings that create future maintenance burdens, and safety issues a buyer’s inspector will flag. Each one undoes the goodwill your good work earned.
- Overplanting. Tightly packed shrubs look full for one season, then crowd each other and need constant pruning.
- Ignoring scale. A tiny shrub against a large facade looks sparse; an oversized tree too close to the foundation worries buyers.
- Skipping the cleanup. Piles of yard waste, dead branches, and clogged gutters read as deferred maintenance.
The throughline here is simple: buyers punish anything that looks like a problem they will inherit. A modest, tidy yard beats an ambitious one that looks half-finished.
Your Landscaping Timeline Before Listing a Home
A landscaping timeline before listing a home should start roughly six to eight weeks out and work backward from your photo date. Compressing everything into the final week produces rushed work and stressed sellers.
| Timeframe | Focus | Effort Level |
|---|---|---|
| 6-8 weeks out | Yard cleanup, remove dead growth, prune shrubs | Moderate |
| 4-6 weeks out | Redefine bed lines, repair walkways, fix safety issues | Moderate |
| 2-4 weeks out | Mulch beds, plant seasonal color, refresh entrance | Light |
| 1 week out | Mow, edge, weed, sweep, final cleanup | Light |
| Photo day | Touch up edges, water plants, clear all debris | Light |
Front-load the heavy work. Pruning and cleanup take time to look natural, and fresh mulch holds its color best when it is not applied months in advance.
Budget Ranges and When to Hire a Professional
Budget decisions should follow a simple rule: spend on what buyers see, save on what they don’t. The ranges below are typical DIY material costs for a modest front yard; they vary by region, bed size, and material choice, so price your actual quantities at a local supplier before committing.
| Project | Typical DIY Material Cost | Time | Return on Effort |
|---|---|---|---|
| Mulch and edging (200 sq ft bed) | $60-$150 | 4-6 hours | High, strongest visual change per dollar |
| Seasonal color (6-10 plants) | $40-$120 | 1-2 hours | High near listing date |
| Walkway cleaning and joint repair | $20-$80 | 2-4 hours | High, removes trip hazards |
| Entrance refresh (paint, mat, planters) | $50-$200 | 2-3 hours | High, frames the front door |
| Lawn cleanup and edging | $0-$40 | 2-3 hours | Moderate, expected baseline |
| Shrub pruning | $0-$50 | 2-4 hours | Moderate, timing matters |
Treat these as planning ranges, not quotes. Bulk mulch bought by the cubic yard is usually cheaper per square foot than bagged mulch, but only if you can haul and spread it in a weekend.
Prioritize Spend by Photo Impact
If your budget is tight, fund projects in this order: entrance and walkway first, mulch and edging second, seasonal color third, lawn cleanup fourth. That order follows what the camera sees first and what buyers read as maintenance. A $100 mulch and edging weekend typically changes a listing photo more than a $100 plant purchase, because the edge and contrast are visible at thumbnail size.
When DIY Stops Making Sense
Hire a professional when a project involves:
- New paving, retaining walls, or decking
- Drainage problems or grading that affects the foundation
- Large tree removal or anything near power lines
Those jobs carry structural, safety, or permit risk that a homeowner cannot absorb on a weekend. For everything else, the constraint is your time, not your skill.
Set Realistic Expectations
Curb appeal improves buyer perception and can shorten time on market, but it does not guarantee a higher sale price. Appraisals are driven by comparable sales, condition, and location; landscaping supports the impression of condition rather than replacing it.
One item sellers consistently overlook: the interior needs the same preparation as the exterior, and carpet and upholstery are where showing-day impressions are won or lost.
Watch Out
Do not schedule interior cleaning after your listing photos. Carpet cleaning needs drying time, and furniture moved for cleaning should be back in place before the camera arrives. Book interior work at least a few days before photo day.
Do not schedule interior cleaning after your listing photos. Carpet cleaning needs drying time, and furniture moved for cleaning should be back in place before the camera arrives. Book interior work at least a few days before photo day.
Conclusion
The hardest part of selling is coordinating a dozen moving pieces while the clock runs, and the yard is usually the piece sellers sacrifice first. Don’t.
Pair that outside work with an interior that matches it. Stay Fresh Steam Cleaning offers certified staff, a comprehensive service range across carpet, tile, upholstery, and air ducts, and a satisfaction guarantee with a re-cleaning policy.
Frequently Asked Questions
What landscaping mistakes can reduce home value?
Overgrown shrubs, dead plants, patchy lawns, and clutter like yard waste or unused pots make a home look neglected. Poor drainage that leaves standing water and hardscape that blocks walkways also turn buyers off. Another common miss is planting high-maintenance greenery right before a sale, since buyers see ongoing work. Keep beds edged, remove dead growth, and choose simple, tidy planting to protect your DIY landscaping investment.
How long before listing should I start landscaping?
Start a landscaping timeline before listing a home at least four to six weeks out. Use the first weeks for pruning, weeding, and yard cleanup, then refresh mulch and flower beds two to three weeks before photos. Save mowing, edging, and final touch-ups for the week of listing so everything looks sharp in listing photos and at showings. A little buffer protects you if weather delays a project.
Should I plant flowers before listing my home?
Yes, colorful flowers are one of the simplest curb appeal wins. Annuals add instant color at the entrance and in garden beds without long-term care, and they photograph well for listings. Choose plants suited to your climate and season, keep them watered, and group them near the front door and walkway. A modest spend on annuals often reads as a well-maintained landscape to buyers.
What are some DIY landscaping projects I can do myself?
Good DIY landscaping projects include refreshing mulch in flower beds, edging beds and walkways, weeding, pruning shrubs, mowing and cleanup, and adding window boxes or potted plants at the entrance. These tasks need basic tools and a weekend, not a contractor. Leave structural work like retaining walls, paving, or drainage changes to professionals, since mistakes there can cost more than they return at sale.


