
- October 6, 2026
- in Blog
- by
- 31
- 0
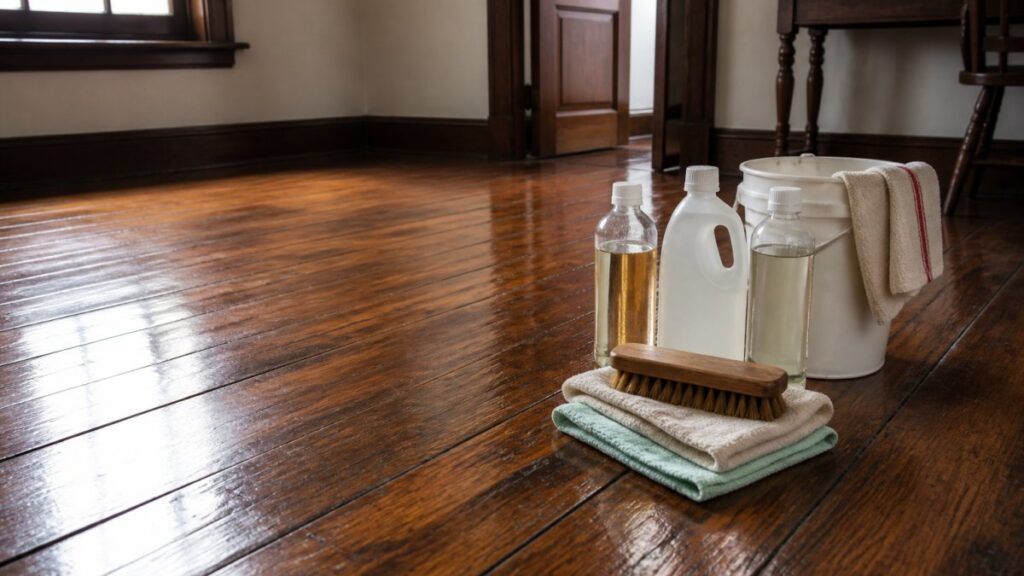
Last Updated: October 6, 2026
The best cleaning products for antique wood floors depend on one thing: what sits on top of the wood. Old floors carry wax, oil, shellac, varnish, or polyurethane, and each tolerates different cleaners. Identify the finish first, or risk permanent cloudiness and water rings.
Antique wood floors are generally defined as wood flooring installed before the mid-20th century, often with thinner wear layers and site-applied finishes.
Wax sits on the surface, feels tacky, and dulls in patches; water-based cleaners strip it and leave streaks. Oil soaks into the wood, looks dry rather than glossy, and needs re-oiling, not soap. Shellac is alcohol-based, amber-toned, and softens with heat or moisture. Polyurethane is a hard film finish, common on floors refinished in recent decades, and the most forgiving of the four.
Test in an inconspicuous area: rub a cloth with a drop of mineral spirits on a hidden board. Finish that softens is wax or oil; finish that stays intact is likely polyurethane or shellac.
A wood-safe cleaner for old floors should be pH-neutral, free of ammonia and bleach, and labeled for your specific finish. The best cleaning products for antique wood floors lift dust, grime, and light sticky residue without stripping the finish underneath.
Look for these on the label:
The U.S. Environmental Protection Agency’s Safer Choice program lists cleaning ingredients screened for human and environmental safety, a useful filter when comparing labels. Fragrance-free and unscented options reduce residue and are gentler on sensitive finishes. If a product is labeled “for all hard floors,” check the back label before trusting it on a waxed or shellac antique floor.
A simple rule: if the label does not name your finish type, do not use it.
A safe workflow for antique hardwood floors takes about 20 minutes per room and uses almost no water.
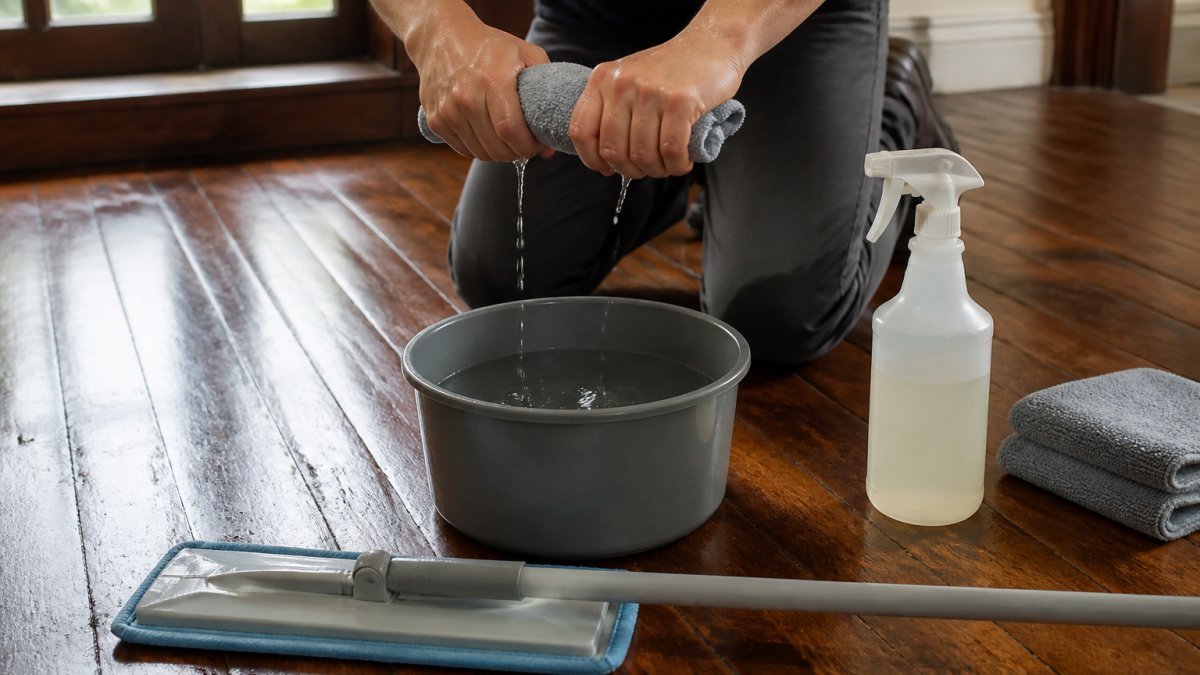
Standing water is the single biggest threat to antique wood floors. It seeps into seams, swells the wood, and lifts finish at the edges. Never pour cleaner directly on the floor, never use a wet mop, and never let a puddle sit.
The right cleaner for old hardwood floors is matched to your finish, not the biggest marketing budget. A product perfect on a 1990s polyurethane floor can cloud a 1940s waxed floor on the first pass.
| Product | Best For | Finish Compatibility | Antique-Floor Caution |
|---|---|---|---|
| Bona Hardwood Floor Cleaner Spray | Routine cleaning on sealed floors | Polyurethane, factory-finished wood | Water-based; can dull unwaxed oil finishes and will not lift wax residue |
| Murphy Oil Soap (diluted per label) | Value shoppers, oil and wax finishes | Oil, wax, some shellac | Oil soap leaves a film on polyurethane if not buffed; never use full strength |
| Method Squirt + Mop Wood Floor Cleaner | Routine damp mopping | Polyurethane, sealed wood | Verify label; not formulated for wax or shellac |
| WOCA Natural Soap Spray | Oiled and natural-finish wood | Oil finishes | Soap-based maintenance, not a cleaner for heavy soil; re-oil after use |
| Swiffer WetJet Hardwood Solution Refills | Quick touch-ups | Polyurethane, sealed wood | Pre-mixed and hard to dilute; avoid on wax, shellac, or oiled floors |
| A pH-neutral concentrate you dilute yourself | Any finish once tested | Polyurethane, sealed wood, some oil | Gives you control over strength, the single most useful feature on an antique floor |
Bona earned top marks in Good Housekeeping’s 2026 hardwood floor cleaner roundup, and Murphy was named its best-value pick. Both are widely available, but neither is automatically safe for a waxed or shellac antique floor.
Skip the front of the bottle. The back label is where finish compatibility lives, and most “all hard floor” claims are written for vinyl, tile, and laminate, not 80-year-old wood.
If you are unsure which finish you have, buy the smallest size of a pH-neutral concentrate, test it on a hidden board under an appliance or in a closet, and wait 24 hours before committing to the whole floor. A finish that clouds, whitens, or feels tacky after drying has failed the test.
Waxed floors need a different routine. Use a wax-specific cleaner or diluted oil soap, never a water-based spray. When residue builds up and the floor looks cloudy, strip the wax, reapply a thin coat of paste wax, and buff it out, a job most homeowners can do twice a year.
Wax is a sacrificial layer, it is supposed to wear, dull, and hold dirt so the wood underneath does not. A tired-looking waxed antique floor is often not damaged; it just needs the old wax removed and a fresh coat.
A safe wax maintenance cycle:
Stripping wax without damaging the finish:
Never use a water-based cleaner, a steam mop, or a wet Swiffer on a waxed antique floor. Water lifts the wax, which re-deposits unevenly and leaves the floor cloudier than when you started. If a waxed floor has been mopped with water for years, the wax layer may be too compromised to salvage with a simple re-wax; a flooring professional can tell you whether stripping and re-waxing will work or whether the finish needs to be replaced.
Some problems look like dirt but are finish failure. Stop cleaning and get an assessment if you see:
The National Wood Flooring Association maintains a directory of certified professionals, which is the right starting point when a finish problem crosses from maintenance into repair.
Yes, old wood floors can usually be cleaned without refinishing. Stay within the finish’s tolerance: light moisture, correct cleaner, immediate drying, no abrasives. Refinishing is only necessary when the finish itself has failed, bare wood exposed, boards cupping, or a rough, splintery surface. The hard part is telling a dirty floor from one whose finish is gone.
Before you escalate cleaning, run this test on a small, representative area:
If the floor passes the test, you can deep-clean without refinishing. If it fails, more cleaning will not help and may make things worse.
This is a heavier version of routine damp mopping, not a wet wash. Budget about 30 minutes per room.
Moisture limits to hold to:
Stop and call a professional if any of these are true:
The single most useful rule for cleaning an antique floor without refinishing is this: if the floor does not improve after one damp pass and a dry buff, stop. More moisture, more concentrate, or more scrubbing will not fix a finish problem, it will only widen the damage.
The National Wood Flooring Association maintains a directory of certified professionals if you need an in-person assessment before deciding between cleaning and refinishing.
Most antique hardwood floors need dry dusting once or twice a week and a damp mop every two to four weeks.
Call a professional when the floor has deep-set stains, widespread dullness, cupping boards, or a finish that has worn through in paths. The National Wood Flooring Association maintains a directory of certified professionals, which is a good starting point if you are unsure.
Sticky residue usually means too much cleaner, not enough dirt. Switch to a lighter dilution and buff with a dry microfiber cloth after every pass. Dullness on a waxed floor means the wax has worn thin; on polyurethane, the finish is scratched or etched and needs professional attention.
For stains:
Antique wood floors reward patience. Match your cleaner to the finish, keep moisture minimal, and dry every section as you go. That routine protects the wood for decades.
When a floor needs more than routine care, Stay Fresh Steam Cleaning can help. We are a family-owned, certified team serving San Antonio and Bexar County, cleaning hardwood, tile, carpet, and upholstery.
Vinegar is acidic and can gradually dull a wax or oil finish on antique wood floors. It also leaves a film that traps dirt and makes floors look cloudy. For routine cleaning, a pH-neutral cleaner labeled wood-safe is safer. If you want to spot clean a sticky patch, dilute a small amount of vinegar with water, test it in an inconspicuous area first, and dry immediately. Never use vinegar on shellac or wax finishes.
Rub a finger across the floor. A wax finish feels slightly tacky and buffs to a soft sheen, while polyurethane feels smooth and hard with a plastic-like surface. You can also apply a few drops of mineral spirits to a hidden spot. If the finish softens, it is likely wax or oil. If it stays hard, it is polyurethane or a similar film finish. Always test in an inconspicuous area before cleaning.
Sweep or dust antique hardwood floors two to three times per week to remove grit that scratches the finish. Damp mop with a wood-safe cleaner every two to four weeks, depending on foot traffic. High-traffic rooms or homes with pets may need weekly damp mopping. Deep cleaning with a professional service once or twice a year helps remove buildup and keeps the finish protected without over-wetting the wood.
Look for a pH-neutral, wood-safe cleaner with no harsh solvents, ammonia, or abrasive particles. Products like Bona Hardwood Floor Cleaner Spray or Murphy Concentrated Wood Cleaner are commonly recommended for finished wood. For waxed floors, use a cleaner made for wax finishes and avoid anything that strips the wax. Always test in an inconspicuous area first, and use a barely damp microfiber mop rather than soaking the floor.


