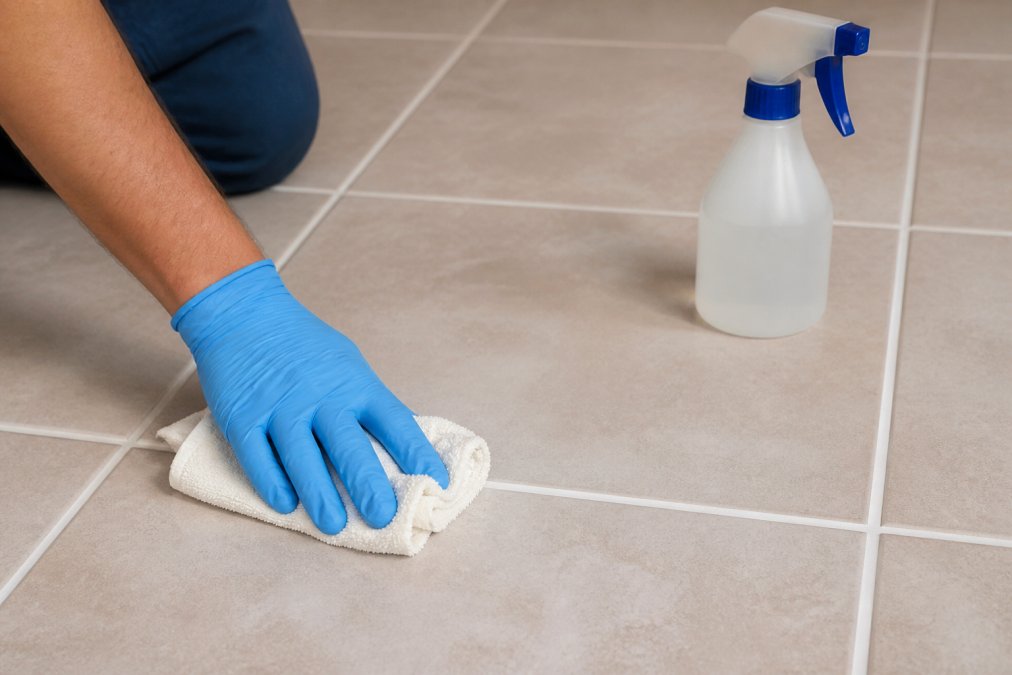
Freshly restored grout is not the same surface it was before. Restoration opens the pores, replaces missing material, and leaves you with a surface that is cleaner but also more vulnerable than most homeowners expect. At Stay Fresh Steam Cleaning, we tell every client the same thing after a tile and grout job: the first 30 days set the tone for the next five years.
Daily and Weekly Habits That Protect Grout Lines
The best grout care is boring and consistent. Small daily habits beat a deep scrub once a month every time.
Homeowner cleaning a light tile floor with a microfiber mop to maintain restored grout in a bright kitchen.
Vacuuming and Dry Mopping
Dry soil is the quiet enemy of grout lines. Grit acts like sandpaper underfoot and grinds into the porous surface every time someone walks across the tile floor.
Vacuum hard floors twice a week with a bare-floor attachment
Dry mop with a microfiber pad in between vacuuming
Focus on entryways, kitchen perimeters, and pet feeding areas
Empty the vacuum canister often so it keeps pulling fine dust
Damp Mopping Without Over-Wetting
Wet mopping is where most people do damage. Soapy water pushed into grout lines leaves residue that attracts more dirt.
Use a damp, not soaked, microfiber mop
Wring it until it barely drips
Change the water before it turns gray
Skip the rinse cycle only if your cleaner is pH neutral
Safe Cleaning Products for Sealed Grout
The safest cleaner for sealed grout is a pH neutral formula made for tile and stone. It lifts everyday soiling without eating into the sealer.
For routine care, keep it simple:
pH neutral tile cleaner, diluted to the label’s ratio
Warm water and a nylon-bristled brush for grout lines
A dedicated grout brush, never a wire brush
Baking soda paste for small spots, rinsed well afterward
Watch Out Never mix bleach and ammonia-based cleaners (the CDC). The fumes are dangerous, and the combo can discolor cementitious grout permanently.
How Often to Reseal Grout After Restoration
Most restored grout needs resealing every 12 to 18 months. High-traffic areas like kitchens, entryways, and bathrooms may need it sooner. But that range is a starting point, not a rule. The right interval depends on what the sealer is exposed to, how it was applied, and what kind of tile surrounds it.
What Shortens or Extends Sealer Life
Foot traffic: Entryways and kitchen work zones see the most abrasive grit, so they typically fail first.
Cleaning chemistry: Weekly alkaline or acidic cleaners strip a penetrating sealer faster than a pH neutral product.
Moisture exposure: Showers and floors around pet bowls stay damp longer, which stresses the sealer and encourages mildew.
Application quality: A sealer applied to a damp or poorly cleaned grout line cures unevenly and fails early. Curing time matters, most penetrating sealers need 24 to 72 hours to fully cure before the floor is mopped or exposed to water.
Grout condition: Freshly restored grout that was properly repaired holds sealer better than grout with hairline cracks or missing material.
A Simple Reseal Calendar
Use this as a working schedule, then adjust based on your water drop test results:
Month 1 after restoration: Avoid wet mopping and harsh cleaners while the sealer cures. Dry mop and spot clean only.
Months 2-6: Routine pH neutral cleaning. Test the sealer in one high-traffic zone at the three-month mark.
Months 6-12: Test every two to three months. Bathrooms and entryways are the first to show wear.
Months 12-18: Plan a full reseal unless testing shows the sealer is still beading strongly everywhere.
Every 3-5 years: If grout is permanently discolored despite resealing, a grout colorant or re-grouting may be the better move than another coat of sealer.
Testing Your Sealer with the Water Drop Test
The water drop test tells you in two minutes whether your sealer is still working.
Drip a few drops of water onto a grout line in a high-traffic area
Wait 10 minutes
Check if the water beads up or soaks in
Pro Tip Test the same grout lines each time and note the date. Tracking bead-up time over a few months tells you more about sealer life than any generic interval.
Surface-Specific Reseal Timing
Ceramic and porcelain tile: Non-porous and easy to clean. The grout is the only vulnerable surface, so a standard 12-to-18-month reseal usually holds.
Natural stone (travertine, marble, slate): Porous and acid-sensitive. These floors often need sealing more frequently, sometimes every 6 to 12 months, and should never see vinegar, acidic cleaners, or abrasive powders, which etch the stone even when the grout survives.
Epoxy grout: Far less porous than cementitious grout and often needs no sealer at all. If a sealer was applied, resealing is usually unnecessary; clean it instead.
Key Takeaway Resealing on a calendar beats resealing on a stain. If a stain returns within a week of cleaning, the sealer is already gone, reseal before you scrub again.
Water drop test and sealer cure guidance from a manufacturer’s technical data sheet
Choosing the Best Grout Sealer for Tile
The best grout sealer for tile depends on your grout type, not your tile. Cementitious grout is porous and absorbs sealer well. Epoxy grout is far less porous and often needs no sealer at all.
Sealer Type
Best For
Reapply
Penetrating sealer
Cementitious grout
12-18 months
Topical sealer
Low-traffic areas
6-12 months
Grout colorant
Stained or faded grout
3-5 years
Epoxy grout
No sealer needed
N/A
Pro Tip Apply sealer to a small test patch first and let it cure for 24 hours. Some sealers darken grout slightly, and you want to see that before committing to the whole floor.
Troubleshooting Stains, Mildew, and Discoloration
Persistent discoloration usually means one of three things: the sealer has failed, moisture is trapped underneath, or the stain has bonded to the grout itself. The trick is telling those apart before you waste an afternoon scrubbing grout that will not come clean.
Identify the Problem First
Efflorescence: A white, powdery film that points to moisture moving through the tile floor. It often reappears after cleaning because the source is below the surface, not on it.
Mildew: Grows where grout stays damp, often in showers and around pet bowls. It looks like dark speckling in the grout lines and returns quickly if ventilation is poor.
Grease: Common in kitchens. It sits deep in the porous surface and resists normal mopping because water alone cannot break it down.
Topical staining: Dye, wine, or rust that has bonded to the surface. This is the type most likely to respond to a targeted spot treatment.
Sealer failure: The stain soaks in almost immediately and reappears within days of cleaning. This is a maintenance problem, not a cleaning problem.
The Order of Attack
Work from gentlest to strongest so you do not damage the grout or the tile around it:
Start with a pH neutral cleaner and a nylon-bristled brush.
Move to a baking soda paste for organic stains, then rinse thoroughly.
Use a diluted hydrogen peroxide spot treatment for mildew, and ventilate the room.
For grease, a dedicated alkaline degreaser used once, not weekly, can lift what neutral cleaners leave behind.
Call a professional if the stain survives all four steps.
Watch Out Do not escalate to bleach, acidic cleaners, or a wire brush on natural stone or cementitious grout. These can etch the stone, discolor the grout, and strip whatever sealer remains.
When to Stop Cleaning and Change Course
This is the decision most guides skip. Cleaning has failed when:
The stain returns within a week of a thorough clean.
The discoloration is uniform across a whole room rather than isolated to a few lines.
The grout surface feels chalky, crumbly, or recessed below the tile edge.
Efflorescence keeps coming back after repeated cleaning.
Grout colorant: Adds pigment and a topical layer. Best for grout that is structurally sound but permanently stained or faded. Expect to reapply every 3 to 5 years.
Re-grouting: Removes and replaces the grout. The right call when grout is cracked, crumbling, or missing in sections.
Addressing moisture: If efflorescence or mildew keeps returning, the fix is ventilation, drainage, or a leak repair, not another cleaner.
Key Takeaway If a stain returns within a week of cleaning, the sealer is gone. Resealing matters more than scrubbing harder, and if the grout itself is failing, colorant or re-grouting is the honest answer.
Efflorescence and moisture guidance from a tile industry association
Eco-Friendly Grout Maintenance for Homes with Kids and Pets
Non-toxic routines work just as well as harsh chemicals when you stay consistent. Families with kids and pets do not need bleach to keep grout clean.
Common Mistakes That Undo a Grout Restoration
A handful of habits quietly destroy restored grout. Avoiding them is easier than fixing the damage.
Scrubbing with a stiff or wire brush and scratching the surface
Using vinegar or acidic cleaners on cementitious grout
Soaking the floor with a wet mop and pushing water into grout lines
Skipping resealing until stains appear
Using a steam mop on high heat over sealed grout
Ignoring spills and letting them set overnight
Frequently Asked Questions
How often should you reseal grout after restoration?
Most cementitious grout needs resealing every 6 to 12 months, while epoxy grout rarely needs it at all. High-traffic areas like kitchens, entryways, and bathrooms may need it closer to every 6 months. Test with a few drops of water: if it soaks in within 10 minutes instead of beading up, it’s time to reseal. Keep a simple calendar reminder so restored grout stays protected.
What cleaning products should be avoided on restored grout?
Skip abrasive cleaners, bleach-heavy scrubs, and acidic products like vinegar or lemon juice, which break down sealer and etch cementitious grout. Avoid anything labeled ‘heavy-duty’ or ‘scrubbing’ unless it’s pH neutral. Dawn dish soap is fine in small amounts, but it can leave residue over time. Stick with pH neutral, alkaline cleaners and a nylon-bristled brush for safe cleaning products for sealed grout.
Can you use a steam cleaner on restored grout?
A steam cleaner can be used on restored grout, but it’s important to keep the nozzle moving, hold it a few inches from the surface, and avoid saturating the grout lines. Steam can loosen dirt without harsh chemicals, which may help preserve the sealer. For best results, follow with a dry microfiber wipe to prevent moisture from sitting in the grout.
How do you keep restored grout clean for longer?
Vacuum or dry mop weekly to remove grit before it grinds into grout lines. Wipe up spills right away, especially oil, wine, and pet accidents. Use mats at entryways and in front of sinks. Reseal on schedule, and avoid over-wetting during mopping. These habits reduce soiling and help restored grout hold its color and surface integrity between professional cleanings.
Restored grout only stays restored if you care for it. The right products, a light touch with water, and a resealing schedule do more than any deep scrub ever will. If you would rather hand it to the pros, Stay Fresh Steam Cleaning offers tile and grout cleaning, sealing, and full surface care backed by a satisfaction guarantee with a re-cleaning policy. Get started with Stay Fresh Steam Cleaning and keep your tile floor looking freshly restored for years.
What makes Cleanmate trusted above other cleaning service providers? When you combine higher standards, smarter strategies and superior quality all in one package, the result is top notch.